Vinyl flooring is popular for many reasons. It’s beautiful, easy to install, versatile, withstands moisture, and is durable due to its water and stain resistance. It’s also an inexpensive flooring option.
Installing it is easy, if you know how to avoid certain vinyl flooring installation mistakes. If not, contact your local flooring store for professional flooring installation.
Here are some tips on how to install vinyl flooring perfectly.
Pro Tips Install Sheet Vinyl Flooring
Picking the right vinyl flooring and installing it properly is equally vital. If you have the vinyl sheets, here’s how to proceed with its installation.
1. Prep the Room

Start by disassembling the room. Remove the furniture, appliances, carpets, accessories, and doors from their hinges. Now, remove the floor trim moulding by slowly wedging a pry bar between the wall and the trim. Insert a small wooden block behind the bar to protect the wall from damage and add leverage to pry away the trim.
When you are done with the moulding, remove the trim nails using pliers. If you want to use the trims later and the nails are embedded in it, pull them through the back; otherwise the moulding will split.
2. Prep the Floor

Now, this step will depend on what kind of floor you have. If you have concrete, you can simply clean it, then let it get smooth and dry. Repair any holes or cracks. Use a grinder to lower the high spots and a chisel to remove any bumps.
If you have old linoleum or vinyl flooring, you can leave it be if it’s in good condition. If you see indentations or a rough texture, use an embossing leveller to create a smooth surface. If you need to remove any damaged or loose vinyl flooring, it is advisable to contact a flooring store, unless you are absolutely sure you can do it yourself.
If you have an embossed, buckled, hardwood, cushioned, or uneven floor, you will need an underlayment. Now, that’s something you should let a professional do. If not done properly, the new floor will eventually start showing the bumps and dips in the old floor by acquiring the texture of the floor below.
If you can’t remove the old floor, or there’s too much of the rough area to use an embossing leveller, cover it with a new underlayment of plywood. Let the professionals handle it If you don’t know how to install plywood underlayment.
3. Prep the Subfloor

Before you install your vinyl sheet, make sure the subfloor is levelled perfectly and is free of gaps, gouges, or seams. You can use a combination of level compound and pre-mixed floor patch to fill the low spots. If the dips are deep, you will need to repair the subfloor. Use a trowel for the compound to fill the gaps and seams and level the subfloor.
4. Prep the Door Trim
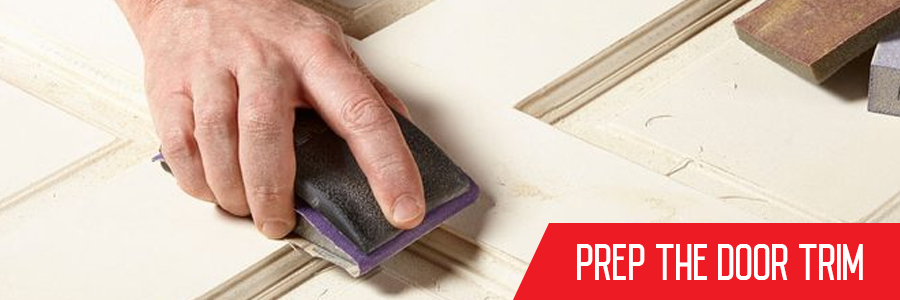
To cut the under door trim by an eighth of an inch, use a multi-tool with a wood blade. Or, remove the door trim until the floor is installed and put it back again.
5. Cut the Sheet Vinyl Flooring

Vinyl sheets come in 6’ x 12’ width to allow you to install seamless flooring in small spaces like bathrooms and kitchens. A day before cutting the sheet, leave it in the room where it will be installed for acclimatization.
You can measure the sheets in two ways. First, you can measure the floor area and cut the vinyl with 4 inches extra on all sides. Then put it in place and trim the excess. This works well if the room has few angles and obstacles.
The second method includes making a template of the floor layout. You can transfer the template to the vinyl sheet with a removable marker and cut the vinyl sheet properly before installing it. Use the second method if you have a thick vinyl sheet or if the room has many angles and recesses; making it hard to fit with flooring. Also, don’t forget to make relief cuts at the corners.
6. Install

Lay the floor into place and fold it halfway back to apply the recommended adhesive. Read the instructions on how to apply the adhesive and how long it’ll have to sit to achieve the best hold. Put the floor in place and repeat with the other half side. Finish the bonding with seam sealer. Install the moulding and the door, allow the adhesive to dry, and reassemble the room.
Vinyl flooring installation may sound like an easy job but it’s tedious. Don’t even start unless you’re sure you can finish it. Your best option is to let your local flooring store install it for you.
AA Floors & More Ltd.
524 Evans Ave Etobicoke ON M8W 2V4
TELEPHONE : (416) 201-9611
Click here to send Email
OPENING HOURS
Monday-Friday 8:00 am – 6:00 pm
Saturday 9:30 am – 3:30 pm
Sunday-Closed